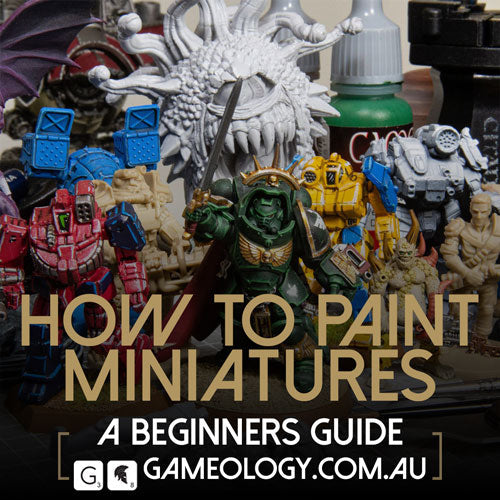
1) Where To Begin
The very 1st question we get asked is "What should I paint", The short answer is what do you want to paint? Start Simple but have an end goal in mind.
Do you want to paint a character for your new DnD campaign? Then browse the Nolzurs/Deepcuts range from wizkids.
Do want to play Warhammer with friends or at a club? Then have a look at the Warhammer starter sets for each of the races.
Fancy Kickstarter board game that just arrived? Have another look at the wizkids Miniatures and find some compareable figures to practice on.
What ever you choose try to make sure it stays relvant to your end goals and that will keep you engaged and motivated.
2) Preparation
Assembling a miniature can be quite a challenge in itself as each manufacturer presents its own problems and solutions. Follow the instructions carefully. Always dry fit the parts together with no glue to make sure they fit and you have the right part. Try to use the right glue for the right job, plastic glue for plastic models and super glue for everything else. If unsure always ask.
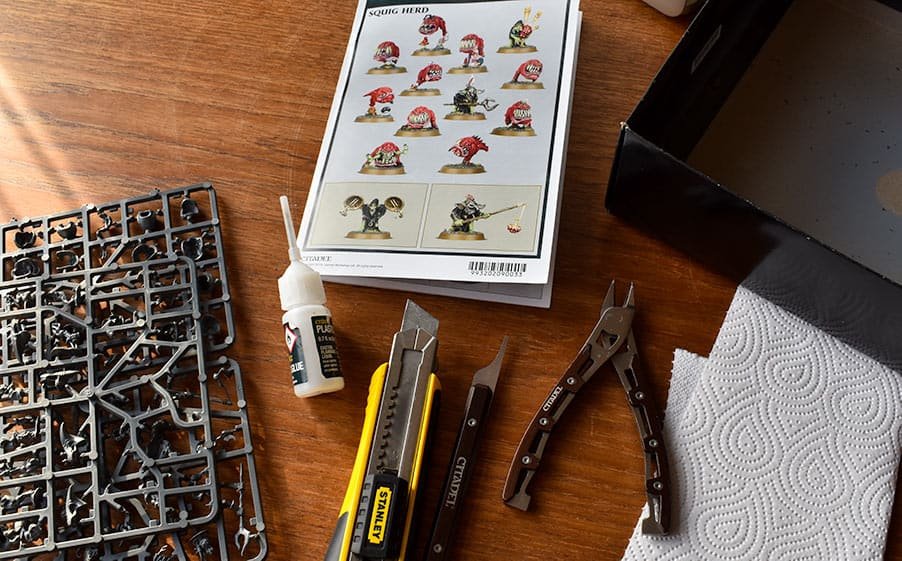
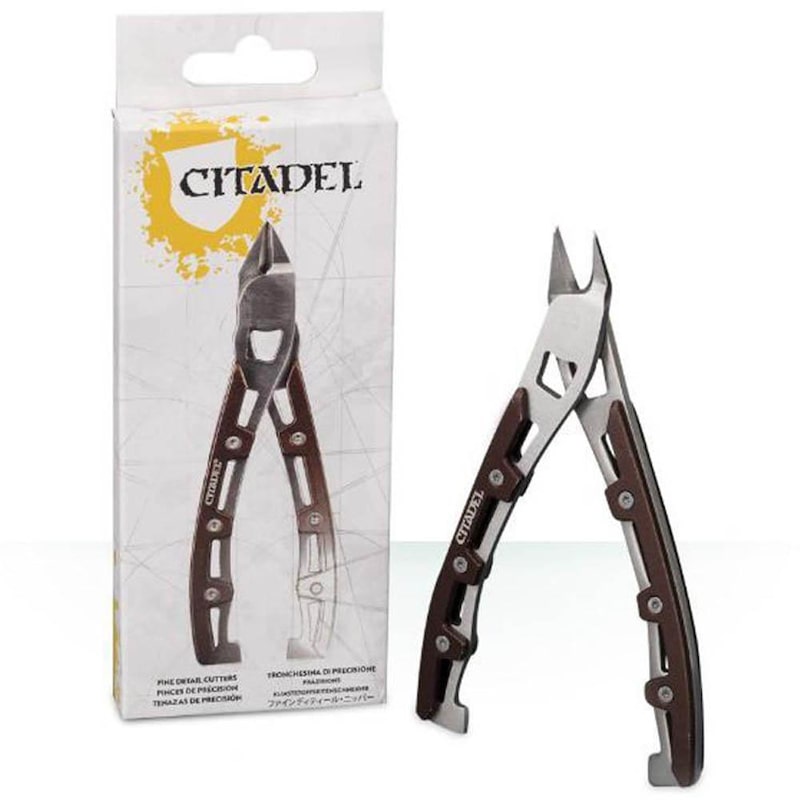
Good sharp tools will make the clean up stage much easier. The best one to invest in first is a good, flat and sharp pair of clippers to remove the parts from the frame. The flat edge will let you cut close to the model with no damage and if the edge is sharp it will cut rather than tear meaning minimal clean up.
After cutting from the frame you will often be left with small bumps that can be cleaned off with a sharp knife. Any moulding lines from the casting process should also be removed at this stage. Avoid "sliding" the flat edge of the blade along the model as that can lead to cutting into the part and leaving flat edges where there should be detail or even leaving divot when it should be flat. Rather hold the knife at 90degrees to the edge and gently "scrape" the edge of the blade along the parts in question reducing risk of damage. If your prefer a safer option The "Mould line remover" product does quite a good job and is significantly safer.

Even properly assembled Miniatures can sometimes have gaps in between parts. There are multiple "plastic putty" products available to fix this. Simply water down some with clean water on a palette and use a brush some into the gaps and wipe away excess with a tissue or just your finger. In a pinch even heavily watered down PVA glue will do. Remember to clean your brush thoroughly.
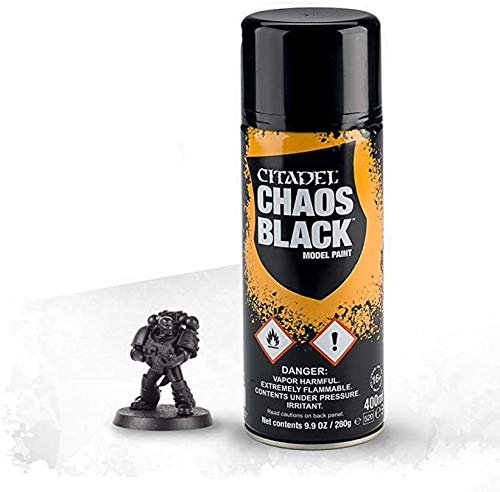
Priming a figure to paint is a simple step, most paint ranges include spray can primers in a variety of colours. The colour you choose will ideally be based on the final product, however it can get expensive buying multiple cans. A medium grey colour will work well for many paint schemes. When using a spray can never directly spray the figure as that can pool the paint and fill in some of the details. You want to aim for as thin a coat as possible so start the spray to one side and use a left to right motion waving it over the models. If you are priming more than one model you can blue tack them to a box and spray them all at the same time. Make sure you try to get as much covered as possible but don't over do it you need to keep it thin.
If you miss a spot wait for it to dry and give it another go. While it is faster and more effective to use a spray can it's not always practical. If you find you have no good space to spray, a paint on primer is just fine. If you can't find a paint on primer, one intended for an airbrush will work well, use a large brush and start painting it all over, taking care not to let the paint pool too much obscuring detail.
Added care in the assembly and priming stages will make the painting process much faster, easier and satisfying.
3) Painting
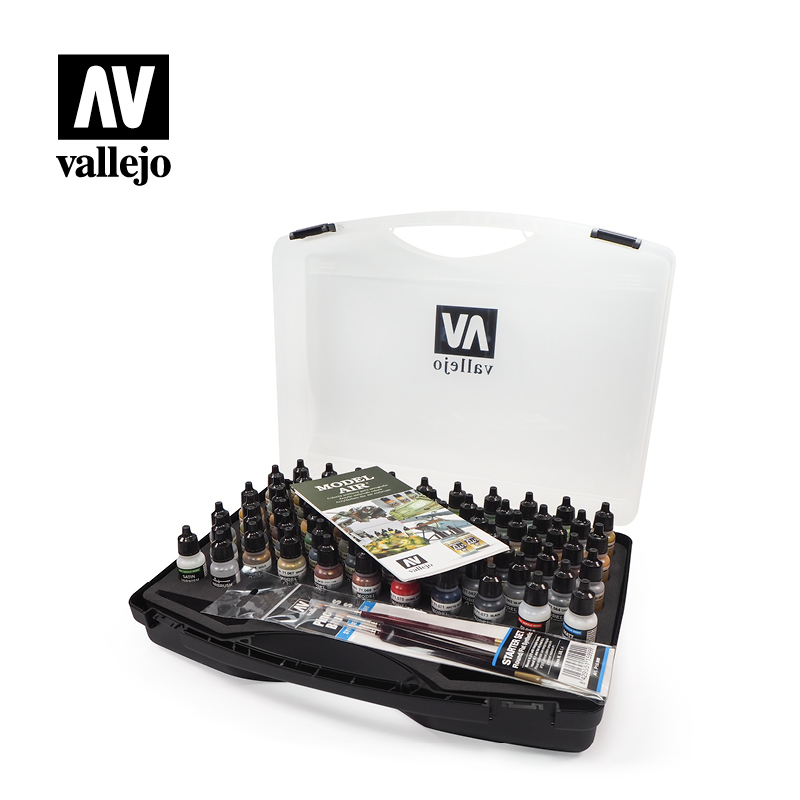
Now you're ready to start painting your miniature. Brands of model paint are a personal preference but what ever you can easily resupply will work best.
Most model colours are water based acrylics so are quite translucent, meaning the choice of base colour will alter the finished look. As you gain experience you will find your own way of doing things. A good place to start is the Base, Shade and Highlight method. If, for example, you are painting the red robes of a fire wizard, you would paint on the desired red colour all over the red area, add a darker version of the red to where the shadows would be, and add a lighter red to the very edges and details.
When using this method, use a palette to help control the amount of paint you are applying. Anything smooth and flat will do, an old plate from the kitchen, a tile or a cheap 2 dollar water colour palette from an art store will all work well. Always thin the paint with a little water, how much water depends on the paint itself. Using the palette allows you to test for consistency. Too thin and it will look streaky and paint will tend to pool away from what you are painting, too thick and it will go on lumpy. If in doubt, lean on the thinner side. You can easily add a second coat but you cannot take one away.
Starting with all your base colours paint the entire model, beginning with the hard to reach areas. Once you have all the base colours down you will have a pretty good idea of what your finished model will look like if you change your mind and want to go for a different colour now is the time.
Now for shading, this process can be quite messy and fun. Most model paint companies sell products just for this purpose called either "Wash", "Shade","Ink" or "tones". They are going to be a very thin transparent paint almost like coloured water. You can choose to buy complimentary shades and carefully add it to the areas you and want shaded or simply buy a black or brown and apply it to darken the entire figure. If doing the later you will need to reapply your base colour to all but the darkest areas of the model. The advantage of this method is the shade will clearly define all the details making It much easier to choose where to add your highlights. You can choose if you wish to stop here if you like and the Miniature will still look pretty good. If you choose to add highlights try to think about a single source of light pointed at the miniature. The more exposed the lighter the highlight should be.
Less is more at this stage try to keep it as subtle as possible. A good option for a beginner at the highlight stage is a technique called dry brushing. To dry brush your highlights take a medium to large size brush and get some of your highlight colour on the end. Now get some paper towel or tissue and start really working the paint into the bristles. Your objective here is to remove most of the paint without using water. Now gently start wiping the brush back and forth over the model. You should start seeing the hi light colour start catching the edges of the detail. This technique will quickly wear out your brushes however so have a specific brush dedicated to this task.

4) Baseing
Decorating the base of your miniature can be as simple or as complex as you like. Board game figures look quite good simply painting the base matte black
or carefully cutting away the base and gluing them to clear bases so as to show of the art on the game board underneath. When doing this make sure you buy a superglue intended for glass as that will dry clear unlike normal super glue that will leave a white frosting ruining the effect.

If you want to add some interest to the base simply choose a colour you like from the many textured paints available. Add it to the base using a sculpting tool or a small spatula as it will ruin any brush you would use. Unlike normal paint apply it quite thick taking care to avoid your freshly painted miniature. Most texture paints are adhesive too so while it is still wet you can add small objects such as grass tufts, small stones from the garden or even skulls!
Once the paint is dry give it a quick dry brush with a lighter complimentary colour again taking care to avoid the figure. If the base itself is quite thick you can clean up the ring with a colour of your choice. This can be a bright colour to signify an in game function, a darker complimentary colour to the base or simply black.

Like everything you may not be happy with your first attempts but the more you paint the better you will get. Also often if you think your paint job is bad more often then not it's just simply unfinished and a simple touch up of either the shade or the highlight will dramatically change the finished product.

Ask lots of questions! There are many online sources of information available and most people are more than happy to share their knowledge and often if you are struggling with a particular idea there is a simple solution available.


